What Self-Guided Walking Tours Are and How They Work
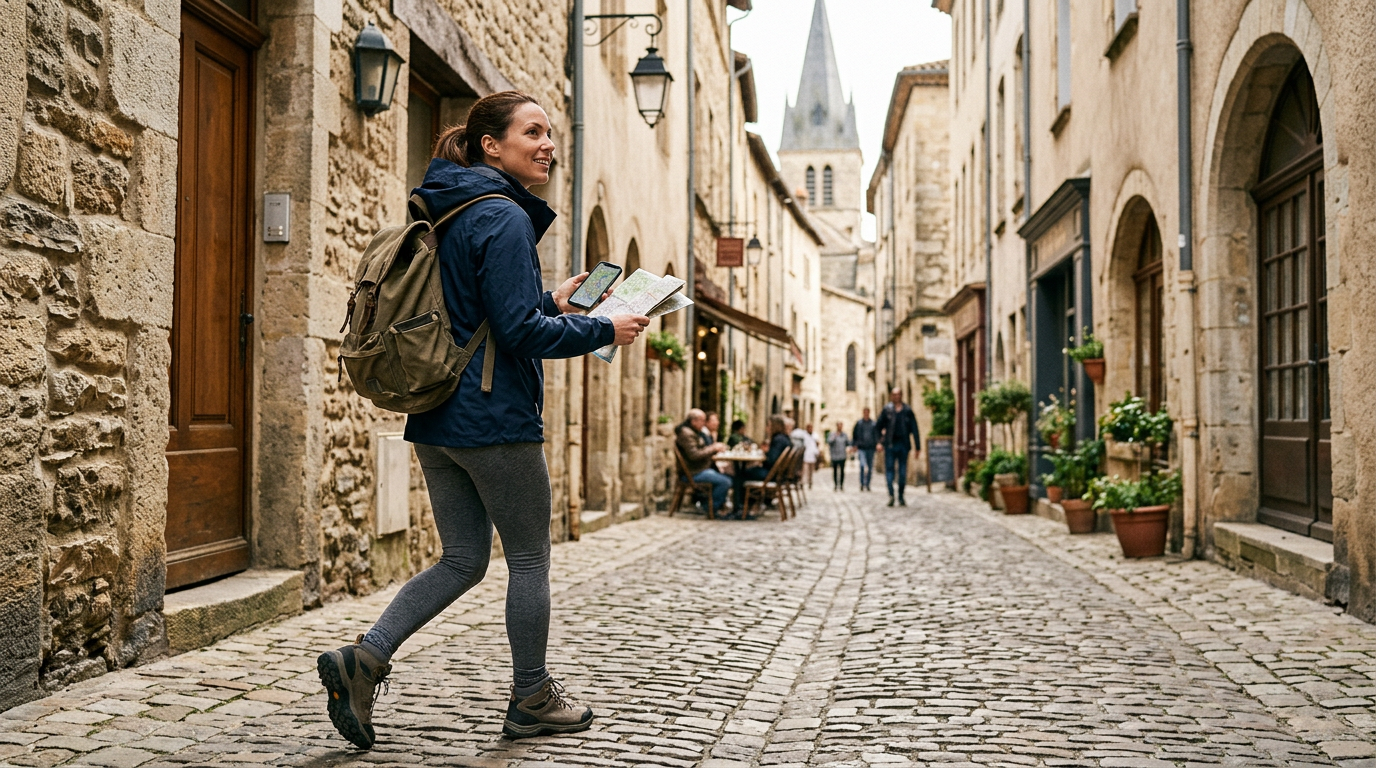
A self-guided walking tour is a planned route you follow on your own using written directions, walking tour maps, or digital tools instead of a live guide. These routes are common in neighborhoods, historic districts, and parks where paths and points of interest are easy to navigate on foot. The route links landmarks, viewpoints, or interpretive stops, and you choose when and how to walk it. Because you are not part of an organized group, you set your own pace, decide how long to stay at each stop, and whether to skip or repeat sections, while staying on publicly accessible paths and observing posted rules, hours, and safety notices.
Most self-guided routes rely on a clear walking tour map and simple instructions that show where to start, which streets or trails to follow, and where each stop is located. Some appear as printable route descriptions, and others are offered through mobile apps or park and city websites. In many areas the route is planned to fit visiting hours and stay on established sidewalks or marked trails, but conditions can change with construction, weather, or temporary closures. Because there is no guide to adjust the plan, users need to read the route details carefully, note any information about terrain or accessibility, and be ready to turn back or detour if signs, barriers, or local regulations indicate that part of the route is off limits.
Planning Walking Tour Routes and Itineraries
Planning a route for a self-guided walking tour starts with distance, time, and terrain. Many people are comfortable with two to four miles over a few hours, with breaks, but this varies by fitness, mobility, and weather. When drafting a route, review elevation, typical crowd levels, and the availability of sidewalks or signed paths instead of assuming every street or trail is walkable. In cities and towns, check rules on park hours, private property, and restricted areas so the route stays on legal, open corridors and avoids places closed at night or during events.
A practical walking tour itinerary groups nearby points of interest around one or two themes, such as architecture, history, or waterfront views, to reduce backtracking. A simple schedule that notes where you expect to be every 30 to 60 minutes helps you plan restrooms, food stops, and potential transit links in case you later decide to shorten the outing. Mapping tools, guidebooks, and tourism websites often show suggested routes, but these plans may not reflect construction, seasonal closures, or changing safety conditions, so they are starting points to adapt rather than fixed instructions.
Accessibility and personal interests should shape the final version of a self-guided route as much as distance or sightseeing goals. If anyone uses a mobility aid, confirm that sidewalks are continuous, that curb cuts exist at major crossings, and that paths do not hide stairs, narrow bridges, or long unpaved sections that make travel difficult. In parks and natural areas, keep itineraries on marked trails and respect signs that limit access to protect habitats or reduce hazards. By building in extra time and options to shorten or extend the walk, the plan can adjust to weather, fatigue, or changing conditions without pressure to complete every stop.
| Scenario Type | Typical Route Length & Pace | Key Planning Focus | Accessibility Considerations | When It Fits Best |
|---|---|---|---|---|
| Dense urban sightseeing | Short to moderate, slow pace | Clustering landmarks, avoiding crowd bottlenecks | Continuous sidewalks, curb cuts, safe crossings | Limited time, varied interests, transit nearby |
| Historic district stroll | Moderate, stop‑and‑go pace | Theme-based stops, story-rich locations | Smooth surfaces, minimal stairs, benches for breaks | Interest in architecture, local history, photography |
| Park or waterfront trail | Moderate, steady pace | Elevation changes, trail conditions, shade and water | Marked paths, few steep segments, rest areas | Desire for nature, quieter paths, flexible duration |
Using Maps, Apps, and Signs to Navigate
On a self-guided walking route, combine paper maps, mobile apps, GPS, and on-site signs instead of trusting a single source. Printed maps give a broad view of the area and never lose power, but they can be outdated or too general at tricky junctions. Apps and GPS help you see your position on the route, yet tall buildings, trees, or weak signals can place you slightly off the real path. Local signs and trail markers confirm you are going the right way, but some may be missing or altered, so treat them as guidance rather than strict instructions. Before you set out, download offline maps, carry backup power if you depend on a phone, and pause at landmarks to compare what you see with both the paper map and the screen. If directions do not match or a way looks unsafe or closed, follow posted rules, stay alert, and adjust your walking tour route instead of forcing the original plan.
Audio Guides, Storytelling, and On-the-Spot Information
Audio guides are a common way to add context and storytelling to self-guided walking tours, whether delivered through an app, downloaded files, or phone recordings. Narration can draw attention to details that might otherwise be missed, such as architectural features, local customs, or brief historical anecdotes linked to specific streets or buildings. Many city centers, parks, and historic districts also provide plaques, brochures, or simple maps that mark key stops. Used together, these resources help pace the route, explain why particular locations were selected, and connect the physical walk with people, events, or themes that a basic set of directions cannot convey.
Even well-made audio commentary and printed materials have limits, so walkers need to add their own judgment and up-to-date information. Recordings and static signs may not reflect recent construction, route closures, or safety advisories, and they often omit current opening hours, admission rules, or reservation needs for museums, viewpoints, or businesses. Before setting out, and again during the walk, it is useful to consult official websites, visitor centers, or posted notices, especially when weather, daylight, or mobility needs could change your plans. Treat recordings and storytelling as background orientation, but rely on current local guidance and personal comfort when deciding whether to enter a site, continue, or turn back.
Strengths and Limitations of Audio-Based Tours
Audio guides can make a self-guided walk feel more structured by pairing narration with a suggested route, adding context to streets and landmarks while allowing you to move at your own pace. They suit people who prefer listening to reading and can reduce the need to stop and check printed material in busy areas.
However, audio content can become outdated when local businesses, public spaces, or access rules change, so it should not replace current notices or safety advice. Listening through headphones may also distract from traffic or uneven surfaces, and standard itineraries rarely match individual mobility, timing, or sensory needs, so pausing, skipping sections, or leaving the route is often necessary.
Rest Stops, Amenities, and Pacing Your Walk
When planning self-guided walking tours, treat rest stops as part of the experience. As you design or choose an itinerary, note places with seating, shade, drinking water, and restrooms, such as parks, visitor centers, and cafes that allow customers to linger. In cities, facilities may be common but crowded; in parks and rural areas, they can be far apart or closed seasonally, so checking hours and basic rules in advance helps. Maps and route apps are useful for marking likely breaks, but conditions change, so confirm what is available when you arrive and carry enough water and snacks in case a planned pause is not possible.
Pacing a walk means matching time, terrain, and weather to the people involved rather than focusing only on distance. For mixed fitness levels, shorter segments between stops are usually more comfortable than trying to keep up with the fastest person, and it is sensible to skip some sights if anyone becomes tired. In hot or humid weather or at higher altitude, slower speeds, more shade, and extra water matter; in cold or wet conditions, shorter breaks and staying warm and dry are important. Because self-guided routes do not require a fixed timetable, you can use landmarks to check how everyone feels, adjust the route, turn back, or use public transport, while respecting marked paths, closures, and private property.
Q&A
-
What makes a self-guided walking tour different from a regular walk?
It follows a planned route with defined points of interest, directions, and basic background information, but you walk it on your own schedule instead of joining a live guide or organized group. -
How can I plan a realistic walking tour route and itinerary?
Start with distance, elevation, and expected weather. Estimate how long you comfortably walk per hour, add time for breaks and photo stops, and keep the route on open, legal sidewalks, paths, and park hours. -
What is the best way to use maps and apps on a self-guided route?
Carry a paper map and use a phone app or GPS as a supplement. Download offline maps, check your position at obvious landmarks, and follow local signs if digital directions conflict with closures or posted notices. -
How do audio guides fit into a self-guided walking experience?
They provide narration tied to locations, so you can learn about history or architecture while walking. You still need to watch traffic, adjust volume, and not rely on audio alone for navigation or safety decisions. -
What should I consider for rest stops and basic preparation?
Mark likely restroom and water locations, check opening hours, and bring enough water, snacks, sun or rain protection, and any needed medications in case planned rest areas are crowded, closed, or unavailable.